
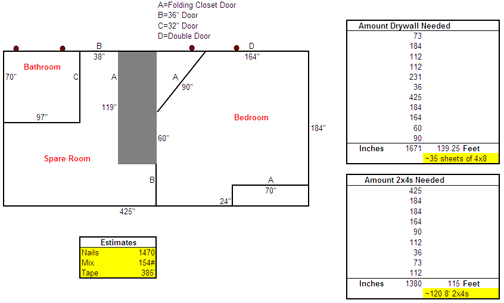
Here are the dimensions. The rest of the basement continues above and to the right of the layout above. I'm finishing about 1/3 of it, adding a bathroom (top left corner), a large bedroom (right side), and an extra room (bottom left).

Before: Here's the wall with the window where the bathroom will go (to the right, NOT to the left like it says in red), and where the spare room will go (to the left). The walls and floor have been painted with DuraSeal. I ran out of white and had part of a can of gray left over, hence the two-tone appearance.
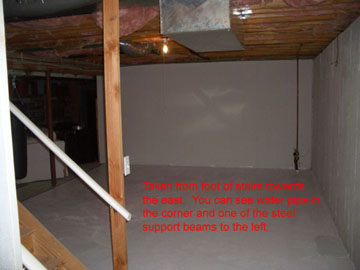
Before: Here's the main bedroom area. The pipes in the distance on the right include the water meter and will be enclosed in a closet.
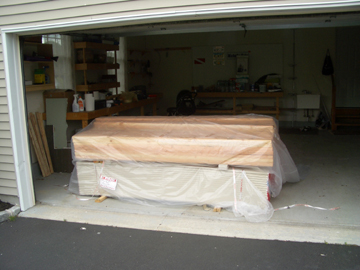
6/1/05: Here's the lumber in my garage from Home Depot. A ton of 2x4s, drywall, and a bunch of doors (which I'd already moved downstairs)

6/1/05: Here's the beginning of my framing work. This is the bathroom that I'm framing first so the plumbers can come in and do their roughing work.
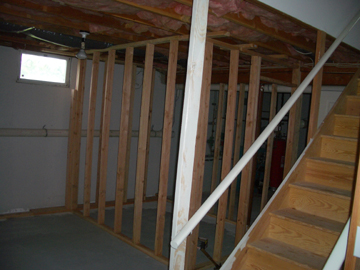
6/4/05: And the bathroom framing is DONE! Once the plumbing is in I'll add the door. Now to the rest of the basement. Not entirely sure what I'm going to do about that window, by-the-way...

6/25/05: I've finished framing the Spare Room, leaving a frame around the window (going to build a box around it with wood), and around the main plumbing access which will end up with a door over it. You can see part of the bathroom plumbing to the right.
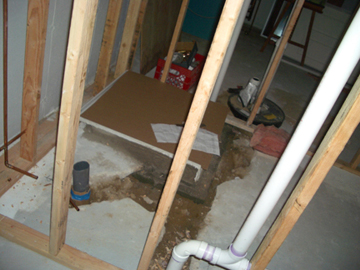
6/28/05: The plumbers have finished their preliminary work. The ejector pump has been sunk into the concrete (it's the round thing on the far side of the picture), all pipes have been dug through concrete and the floor's been reconcreted (the brown stuff is new concrete). Also all pipes have been run, so now I need to do the electric, walls, and floor (I think I'll lay tile), and then the plumbers will come back to install the fixtures!

7/19/05: Thanks to Gil, we were able to get all of the electrical work done during Max's baptism weekend. Here are two of the 8 electrical outlets that we installed. We added 3 breakers: one for the ejector pump, one for the bathroom, and one for the lights/outlets.
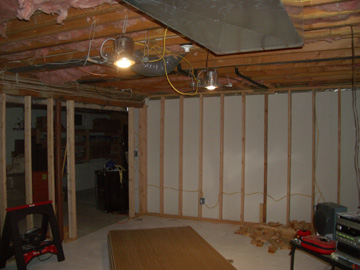
7/19/05: Here is a view to the northeast. You can see that all of the framing is done now, and that gap is going to be for a set of double doors leading to the rest of the (unfinished) basement. See the two new recessed (they're gonna be) lights overhead.
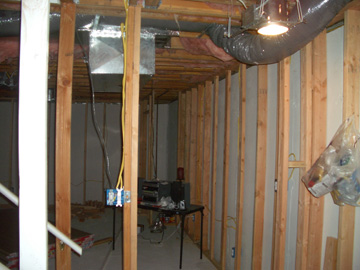
7/19/05: This is another recessed light which we installed at the foot of the stairs.
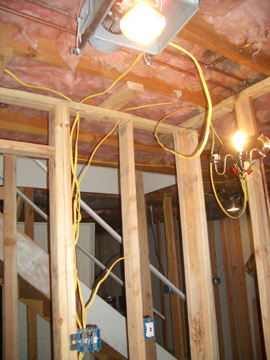
7/19/05: And this is the bathroom wiring. You can sorta see the double light switch to the left and the GFCI outlet to the right. One switch controls both the light (up and to the right...will go over the sink) and blower, and the other controls Michelle's heat lamp (bright light way up top)
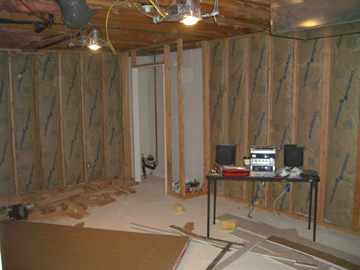
8/3/05: Insulation has all been installed. It was the easiest part of the job so far, and good itchy fun. Thank goodness for my trusty staple gun!
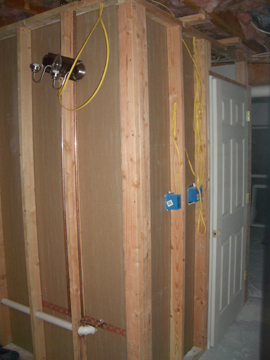
8/3/05: This is the outside of the bathroom. You can see that the door's been installed (costing me my left thumb), and all of the drywall is in. The silver light up there is going to go inside the bathroom ultimately, but first I need to know exactly where the vanity will go, then I drill a hole for the wires, and move the lights to the inside..
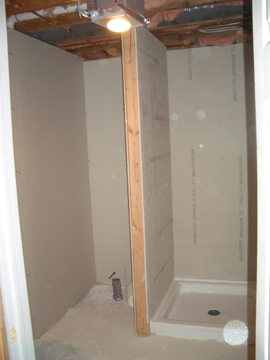
8/3/05: And here's the bathroom! Drywall is all in (except for that one little strip there in the middle), and I installed backerboard in the shower stall. It was a pain to work with...WAY too heavy. Now it's time to mud/tape it and attack the floor and ceiling!
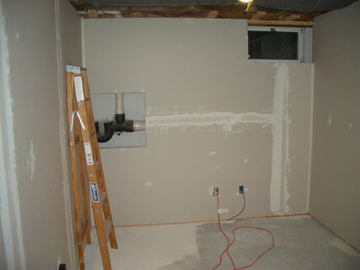
8/29/05: Michelle took Max up to Boston to visit his uncle Kevin, so I had a full weekend to work downstairs! The drywall is all up finally, and I've taped everything and put up the first coat of mud. Amazing how much progress I've made when you compare to the first set of pictures.
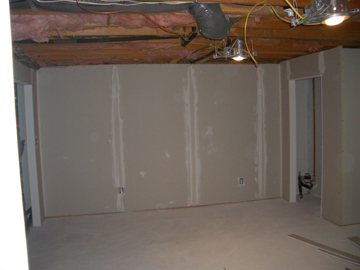
8/29/05: Here's the main bedroom area, and you can see that the closet is all done as well. Oh, and thanks to my birthday present dry-vac, the whole place is nice and clean!
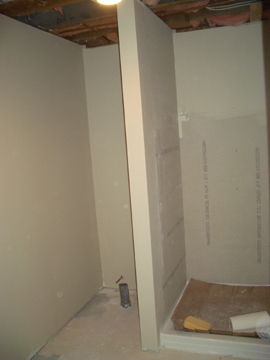
8/29/05: And the bathroom yet again. This is it all painted and ready to go! The inside of the shower stall doesn't get paint as it's going to have fiberglass walls installed. The walls are nice and smooth, the corners are perfectly sharp, and it looks great! Now it's time for the ceiling and floor!
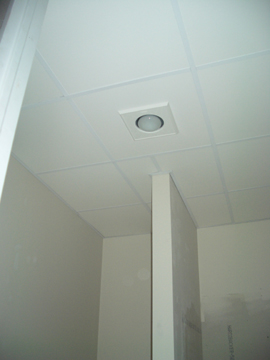
9/7/05: Here's a good look at the ceiling. It took me a full day to do the stupid border rail all around the perimeter, and then only a few hours to bang out the rest of it. The gridwork and panels were actually a lot of fun to put up...sorta like a big upside-down puzzle. Now down to the floor!
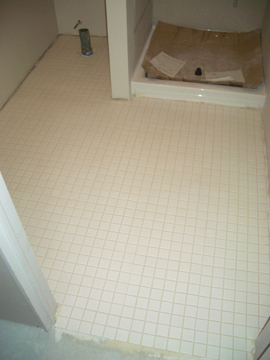
9/18/05: And the floor's done! The tile's a bone white and the grout is kinda sand colored. This was a fun job, but my knees are still sore! Now I call the plumbers to come in and install the fixtures!
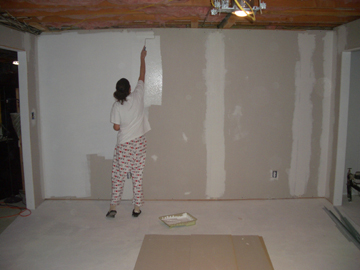
10/20/05: Look at my helper go! First the primer and then the final coat...she does a great job!
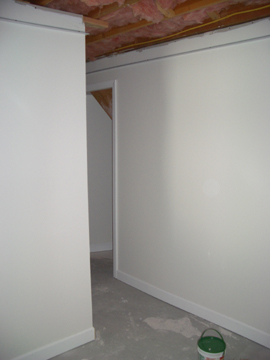
11/4/05: And the casings and baseboards are done! All had to be painted (pain in the butt...and hand), and then I borrowed my neighbors miter saw, brad gun, and compressor and off I went! You can also see the start of the ceiling grid railing there...that's the next big project.
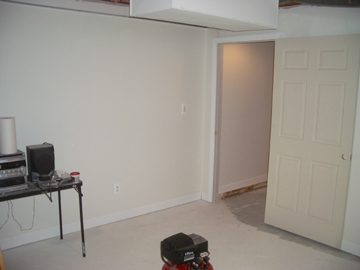
11/4/05: We still have to put putty over the little nail holes for the trim, paint the door jams and doors, and run a thin strip of caulk ALL the way around the perimeter of everything...oh, and we also have to install the door knobs. But all of that is detail work which is easy to do anytime...the trick with the prior stuff was finding time when Max was awake to do all the banging and cutting! Note that I've just painted the stupid duct box overhead white...
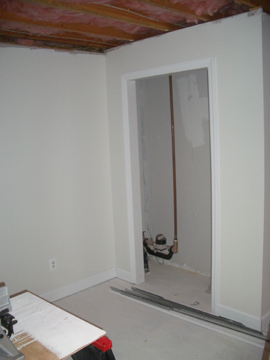
11/4/05: Here's the little corner closet all trimmed out. Still have to hang the bifold doors, but will do that after the carpet comes (which will be in about 2 weeks).
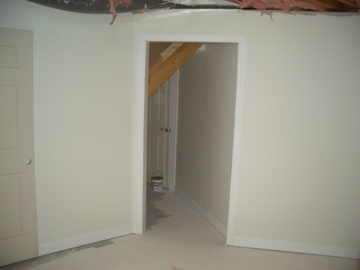
11/4/05: This is the big closet under the stairs. I put in an angled wall from the edge of one doorway to the other to hide the main A/C ductwork and to enclose it. Also ran baseboard and will include it in the carpet job.
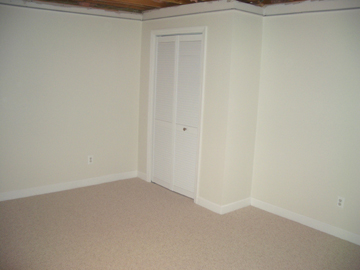
11/22/05: The carpet is in, and so are all the doors! The bifold doors were a snap to put in, and they work great. We got fancy silver knobs (actually everything has silver knobs), and it's a great look.
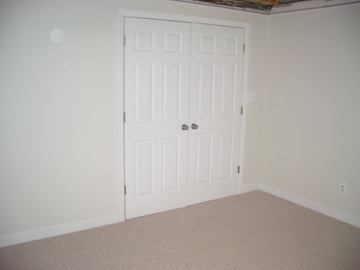
11/22/05: Here are the double doors that lead out to the rest of the basement. They were a pain in the butt to install, and one (the left one) hangs a little crooked. Hopefully nobody will notice too much!
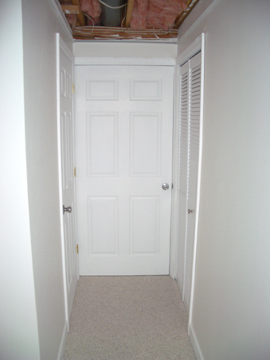
11/22/05: This is a look down the little hallway in the spare area. The door on the left leads to the bathroom, the one straight ahead heads out to the rest of the basement, and the bifold to the right leads to the closet under the stairs. The carpet's actually a lighter color than all of these pictures show, and it's a soft berber with nice padding. The Home Depot folks installed it and did a great job.
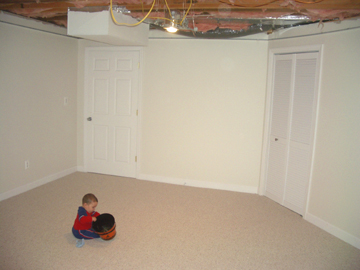
11/22/05: And here's a view from the double doors towards the third set of bifolds (leading to the closet under the stairs from the other side) and the door that leads out of the big room. Note my little helper there on the soft soft carpet. Only things left to do are the ceiling (perimeter rail is all done already as you can see) and the shower stall tiles!
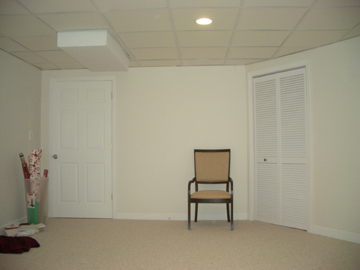
12/19/05: And the project is DONE! Note the ceiling work, and how I framed around the duct box.
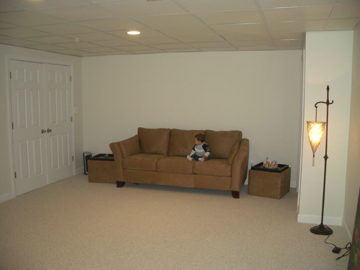
12/19/05: Here's another view of the big room with our new sleeper-sofa and end tables/seats. My helper's checking out the stain resistant upholstery.
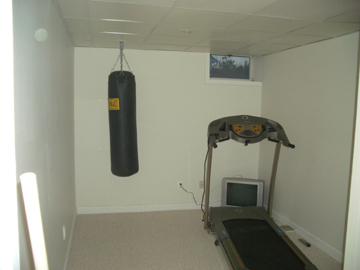
12/19/05: This is the spare room which has turned into the work-out room. We got a new TV (still need a stand), brought the treadmill downstairs, and I hung the bag through a can-light casing in the corner. Looks pretty good if I say so myself!
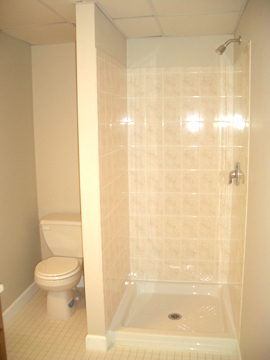
12/19/05: And here's the finished bathroom. The tile-work in the shower was fun and relatively easy, and everything works! I'll post some decorated pictures of the whole shebang in the next few weeks, but if you REALLY want to check it out, come visit, and stay in the new Subterranean Soto Suite!